-
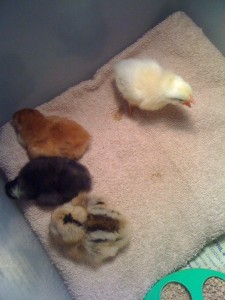
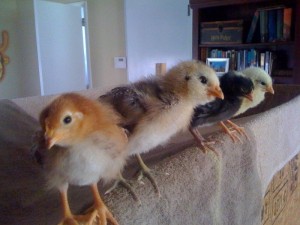
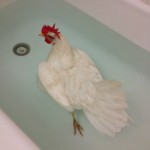
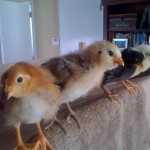
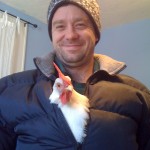
Butterball. Butterbean. BB. Butter Nutters. The white chicken. There’s a special place in my heart for Butterball. We named her this not to be ironic and all, heh, Butterball the poultry company, but because when she was a tiny peep, she was round and fuzzy, and the color of a ball of butter. We were told she was a Buff Orpington—a really beautiful, excessively floofly, known to be gentle and curious and all around great breed of backyard bird. I was very excited about Butterball.
When we got her home, the crazy was immediately apparent. We kept the baby girls in a table-top makeshift coop with heat lamps. They had water and a feeder, and a few times a day, we’d place a towel across the top of the coop and the girls would have “towel time.” They mistook towels for dirt, and would scratch and go through the motions of giving themselves dust baths (we had no idea at the time what they were doing and simply thought it was a chicken dance).
Butterball ran around this coop day and night, crying all the time, and terrorizing the other girls. She’d eventually pass out beak down, but these times were rare. We decided that she’d ultimately be the head hen at the top of the pecking order. We were very, very wrong.
As it turns out, Butterball was mislabeled—she grew up to be a Leghorn, not a Buff. Now, if you Google temperament for these breeds, words like “friendly,” “docile,” and “sweet” come up for Buffs. For Leghorns, on the other hand, you get words like “flighty,” “nervous,” and “active and ambitious.”
Butterball IS flighty. She’s the only one of the girls who can actually fly (a little). She loves to perch high up in our camellia, though strangely enough, she’s never hopped the fence.
She’s also nervous—more so than your average chicken—she darts around the yard looking for hiding places. And she’s certainly active and ambitions. She’s always the first to find the good scratching spots, and even though she’s not head hen, the other girls follow her around because she’s by far the best forager.
But she’s tiny. Leghorns are commercial egg layers, so they’re “built” to be small and have a high food-to-egg conversion ratio. What this means is that she busts her fuzzy butt to find all the good food, she doesn’t eat much of it, and her tiny body turns the food into the GIANT eggs. I’d be crazy too. Leghorns aren’t considered good backyard birds, I’m guessing largely because of their temperament, but I’ve also concluded that it’s because they’re riddled with issues.
This is my theory—and I’m sure I’m completely wrong—but I’m convinced that a tiny body putting all its energy into making huge eggs 300 days a year is a recipe for disaster, and BB has been one disaster after the next. I won’t go in to too many details, but because she is a pet more than she’s anything else, I have to take her to the vet regularly because she’s ill—either she’s egg bound, she’s caught some kind of virus that makes her run in circles (I swear), or she’s ripped a toenail off getting in to something she shouldn’t. Usually warm baths and meds calm her down and keep her going (don’t judge; chickens apparently love baths).
Her last trip to the vet revealed a gizzard full of rocks she couldn’t pass. I asked the doc if there was something I could do differently—was she eating rocks because she had a mineral deficiency?—and he just shook his head and tapped it on the side: the universal symbol for “she’s nutso.” My bird was diagnosed cray.
He prescribed peanut butter and Metamucil. Metamucil for the fiber, and peanut butter to grab a hold of the rocks. Awesome.
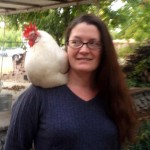
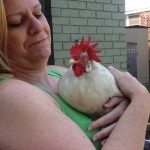
Here’s the thing about Butters: Even though she’s flighty and crazy, she’s the friendliest, most personable of the girls. She regularly jumps on my lap for naps. She’s likes being handled and petted (probably because she’s used to it with all the doctor’s visits), and you can’t help but love the underdog: she turned out to be the lowest on the totem pole, so beyond always being sick she’s beaten up pretty regularly by the other ladies.
I got a lot more than I bargained for with BB: much more blood, and poking of body parts, and supervision and, yes, worry—especially worry. But she’s actually got some Buff to her—she’s definitely the friendliest of the flock; she’s docile when she’s not crazy; and she’s such a sweetheart. I also gained the knowledge that chickens have distinct personalities—even extreme ones. I love my Butterbean, and though I’m unlikely to ever, ever, ever get another Leghorn, I’m glad for the accident. She’s been a ton of fun.
I hope you enjoy the Butterball photo and video montage. I’m preparing this now as her imminent eulogy. I can’t imagine this bird will live long. But if she does, it’ll continue to be a pampered existence of baths, special diets, and lap-naps.
Videos
-
(Sorry, I never got around to taking a picture of it, but the next time I make it, I’ll post how it turns out; in the meantime, here’s the Wiki page for Chicken Kiev)
Ingredients
- Some boneless, skinless chicken breasts (1 per person for your company)
- Panko
- Eggs, beaten, for dredging
- Flour for dredging
- Butter in pats and frozen
- Blue cheese
- Butter, melted
- Hot sauce (I prefer Frank’s)
- Salt and pepper to taste
- Deep frying oil—I prefer peanut
Instructions
- Preheat the oven to 375°
- Put the chicken breasts in a gallon freezer bag, one at a time, and pound them flat with a meat tenderizer. Don’t pound them too much, because you don’t want the meat to tear. But you want to pound them enough so you can roll them up.
- Season the chicken with salt and pepper (and whatever else you think would be tasty).
- Put a pat of frozen butter and some blue cheese crumbles in the center of the chicken. Carefully roll the breast up, tucking in the sides, and being careful not to allow for open areas where the butter and cheese might seep out when the chicken is cooked. Pin it all in place with some wooden toothpicks. (NOTE: Don’t forget to warn your guests about said toothpicks before eating finished product.)
- Roll the chicken rolls in flour, then dip them in the eggs, and then coat them with the panko.
- Deep fry the chicken for a few minutes until it’s golden brown. I use a deep fryer with a basket for convenience.
- Melt some butter and mix it with hot sauce to your preferred ratio (mine’s like 2 parts sauce to 1 part butter). Toss the fried chicken rolls in the butter/sauce mixture. Put them on a cookie sheet on top of a baking sheet and bake for about 20 minutes or until the chicken is done.
- Essentially, you can use any standard Kiev recipe, add some blue cheese to the melty inside, and then toss the fried in hot sauce to make it officially buffalo style.
When you cut into it, the butter and cheese ooze out, and it’s totally delish. Plus, you score major hostess points for presentation and complexity (though it’s really pretty easy). And, even though I’m not a fan of white meat and much prefer the moister, richer, dark meat, pounding and flash frying, then baking the chicken breasts seems to keep it juicy. Soooo…good luck, and enjoy!
-
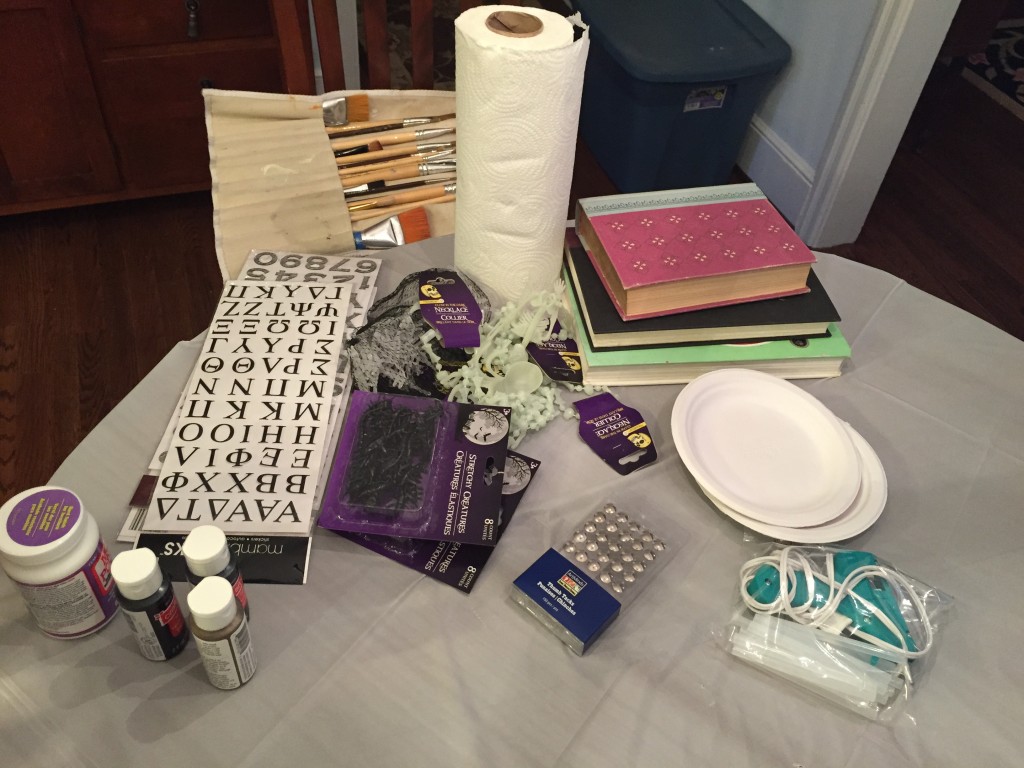
Supplies Needed:
- Hardcover books of varying sizes from the thrift store
- 2 ply contractor grade paper towels (from Lowe’s); note: you’ll be tearing this into 1-ply, but the strength of the contractor grade is important. The paper towels are what give the books their old, leathery look. Make sure the paper towels don’t have a pattern. If you can’t find the contractor grade paper towels, I think Viva would work. The key is to get a piece of towel that is thin enough to not cover your decorations too much but strong enough to not break when you start messing with it.
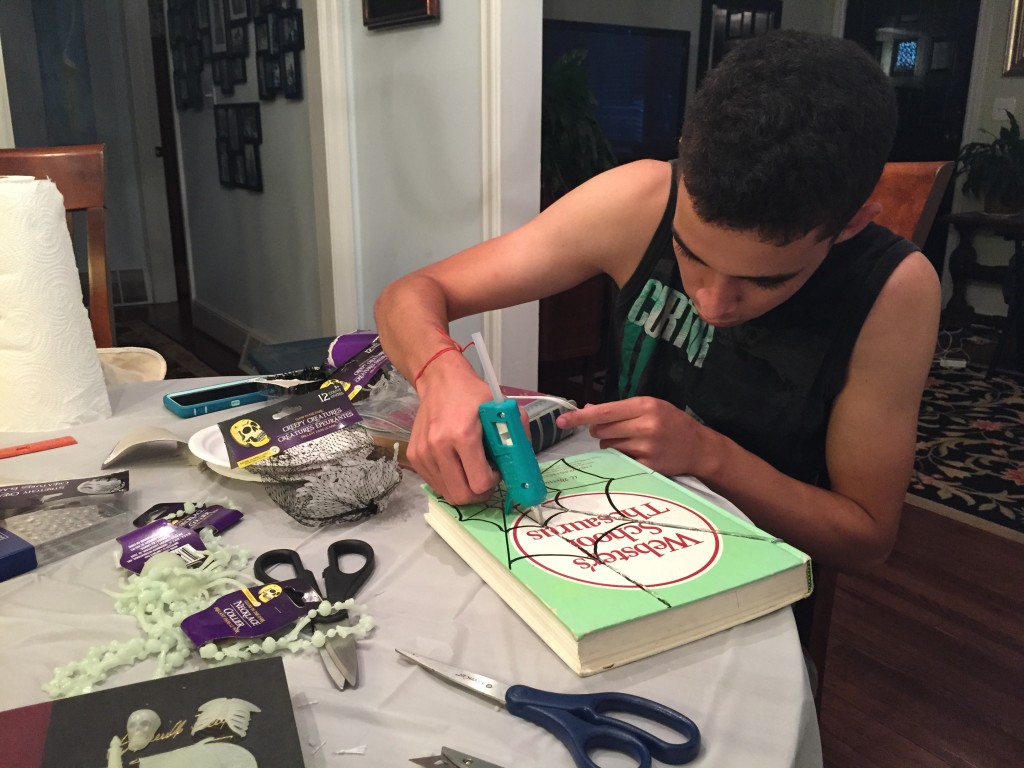
- Glue gun and glue sticks
- Mod Podge
- Spray bottle with water
- Paint brushes (craft or otherwise)
- Stick on letters (make sure they have some dimension so they’ll show up when you paint)
- Black and either gold/bronze paint (craft paint is fine—you won’t need that much)
- Metal thumb tacks (if you want the beaded look on your books)
- Heavy craft paper (if you want to corners to stand out on your books)
- Hard plastic accessories from the Dollar Tree: we bought a bat (for the wings), a skeleton, and a scorpion, but feel free to spook it up however you feel
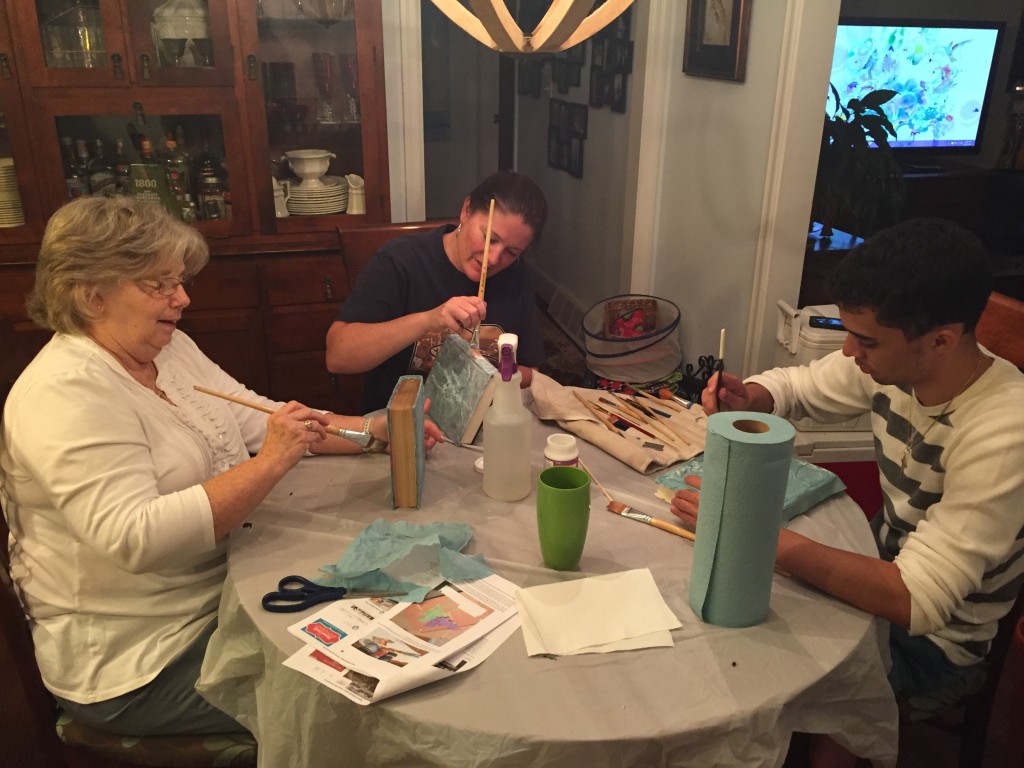
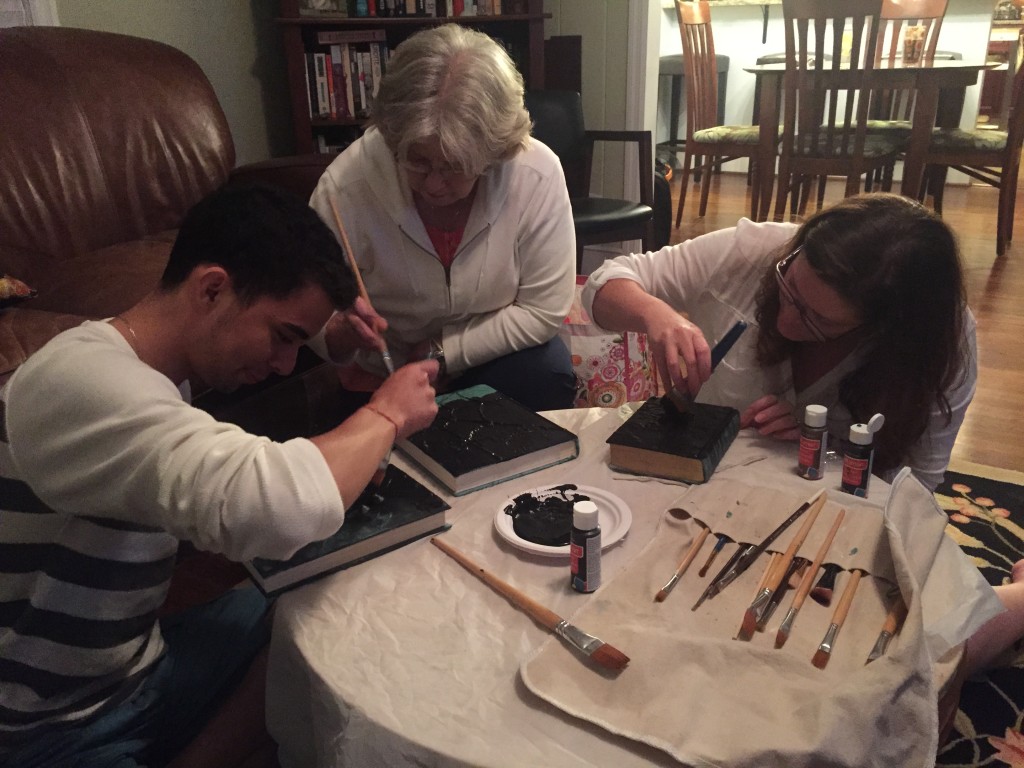
So, I found this project on Pinterest, and the instructions are relatively useless. A LOT of guesswork was involved—I think it was written for someone who understands crafts and materials and Mod Podge, which I do not—so I was happy to solicit the help of Paul and his mom.
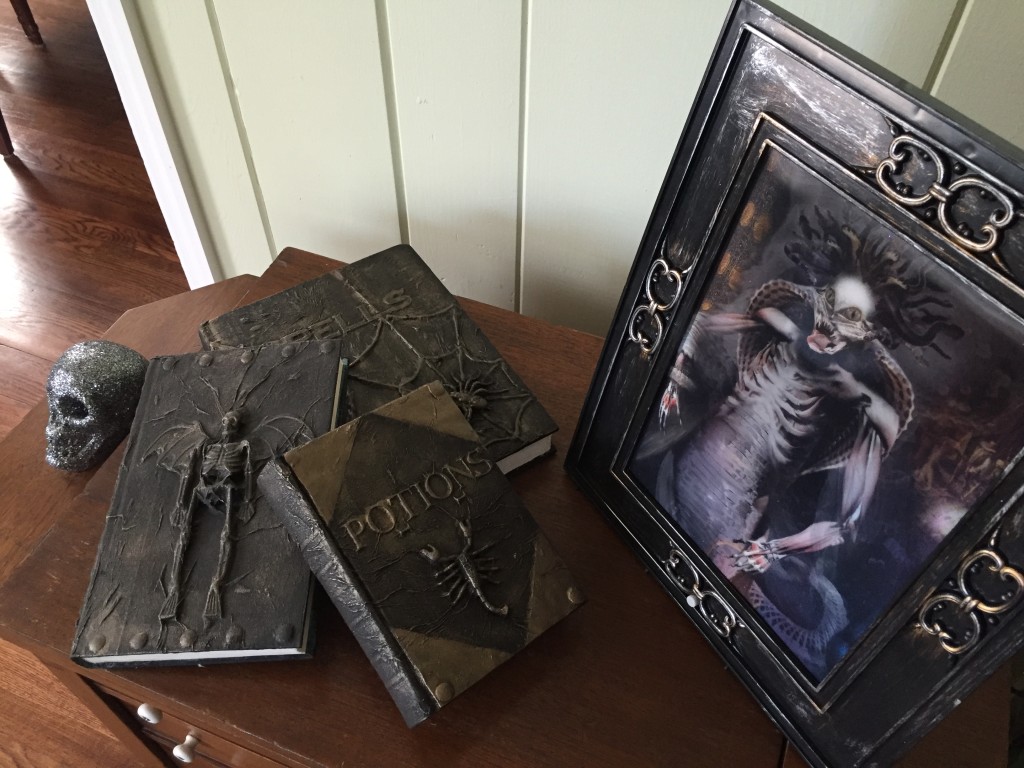
Here’s the quick and dirty: You’ll glue all the stuff on your books, cover with the 1-ply of the paper towel, spray with water, cover with Mod Podge, using a smallish paintbrush, squinch the water-and-mod-podge-paper towel into all the crevices of your plastic pieces, let it dry, paint the books, and voilà, you have a spooky spell book.
And here’s the long of it:
- Decorate your books. Here’s how we did ours:
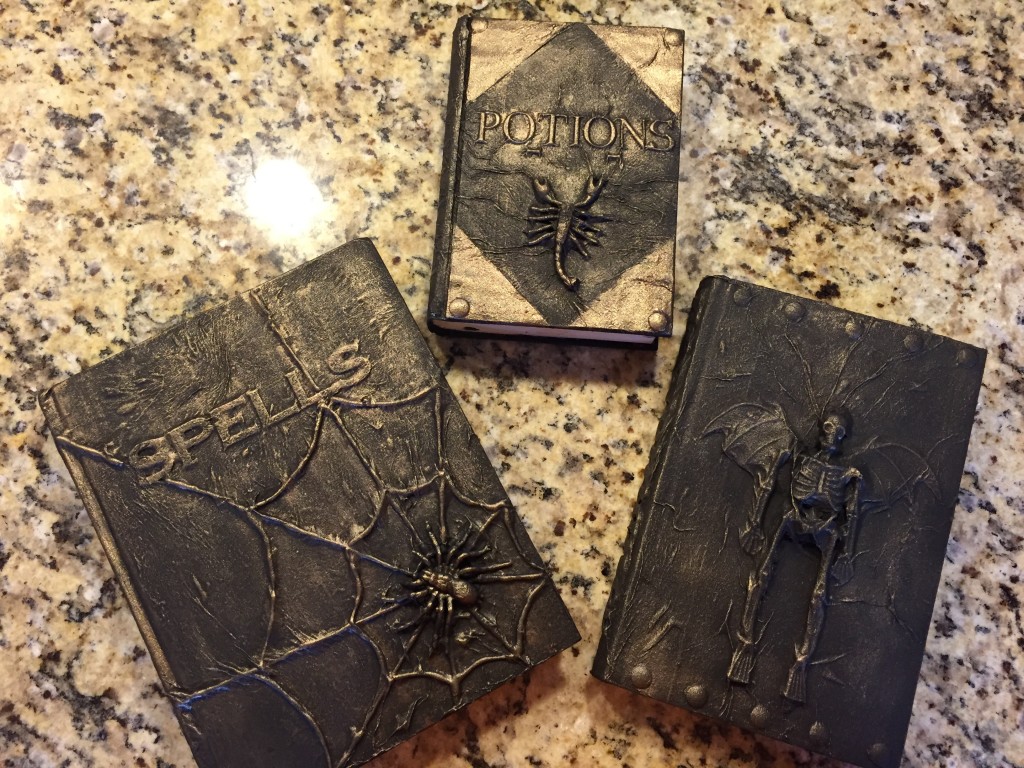
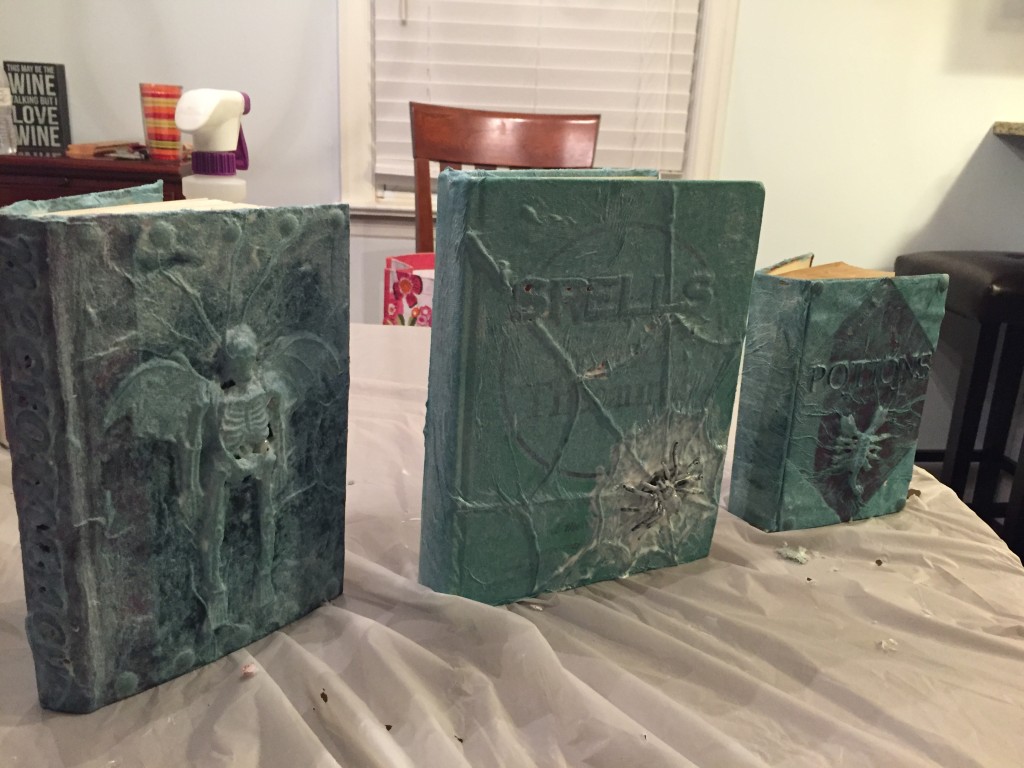
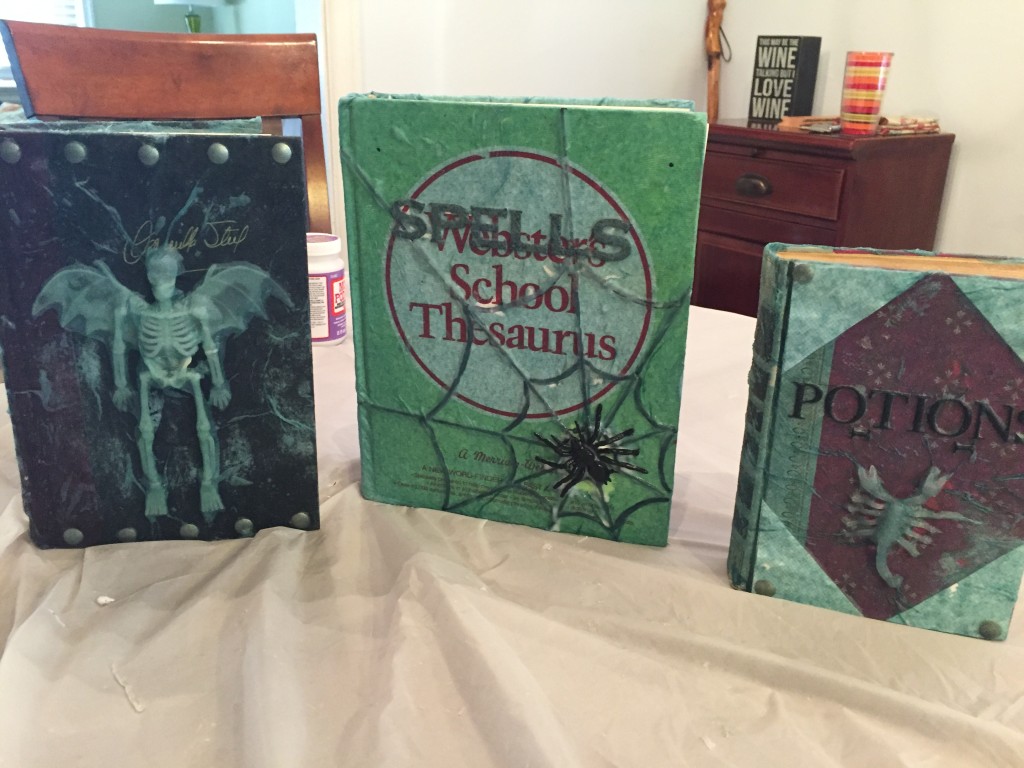
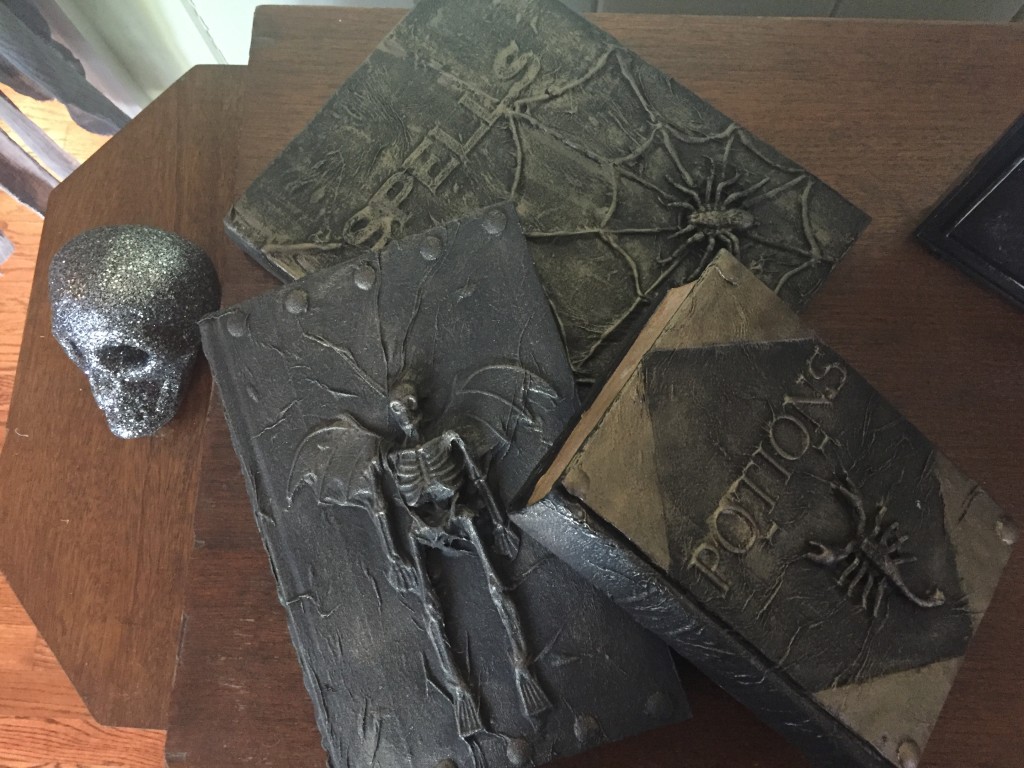
- Spider web Spells: Find someone who’s artistic and get them to trace a cobweb onto the book with a sharpie. Place and hot glue your letters now because some of these will cover a portion of the web. Now trace the web with hot glue so it’s two dimensional. Glue down the spider onto the web.
- Scorpion Potions: Cut corners off of heavy-duty craft paper and glue into corners of book cover. Place tacks into 4 corners. Glue down Scorpion and letters.
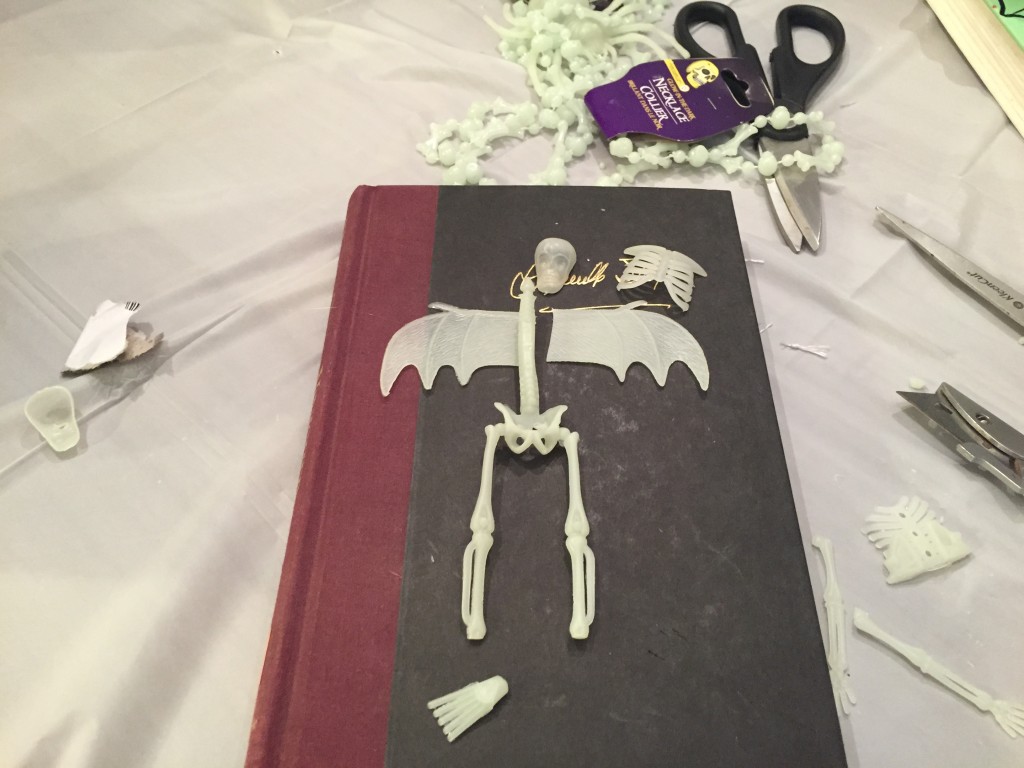
- Flying Skeleton Necromancy: The skeleton I bought was too thick, so I cut the back of the head and the back of the torso off with a razor knife so it would lie down better. I cut the wings off the bat and placed them at an angle so it appears as if they belong to the skeleton. (To be fair, I did not actually initially place the wings at an angel; Paul noticed this and pointed out that my skeleton would look lazy and suggested I angle the wings. This is why I keep him; he has an eye for wing placement.)
- Now we cover the books with the paper towels to make them look leathery. This part was confusing to me because I had never used Mod Podge. I didn’t realize that as it dries, it sort of shrinks up to the material you’ve glued, so your end product will look MUCH better after it’s dried then while it’s drying. Point is, don’t fret. It’ll all work out.
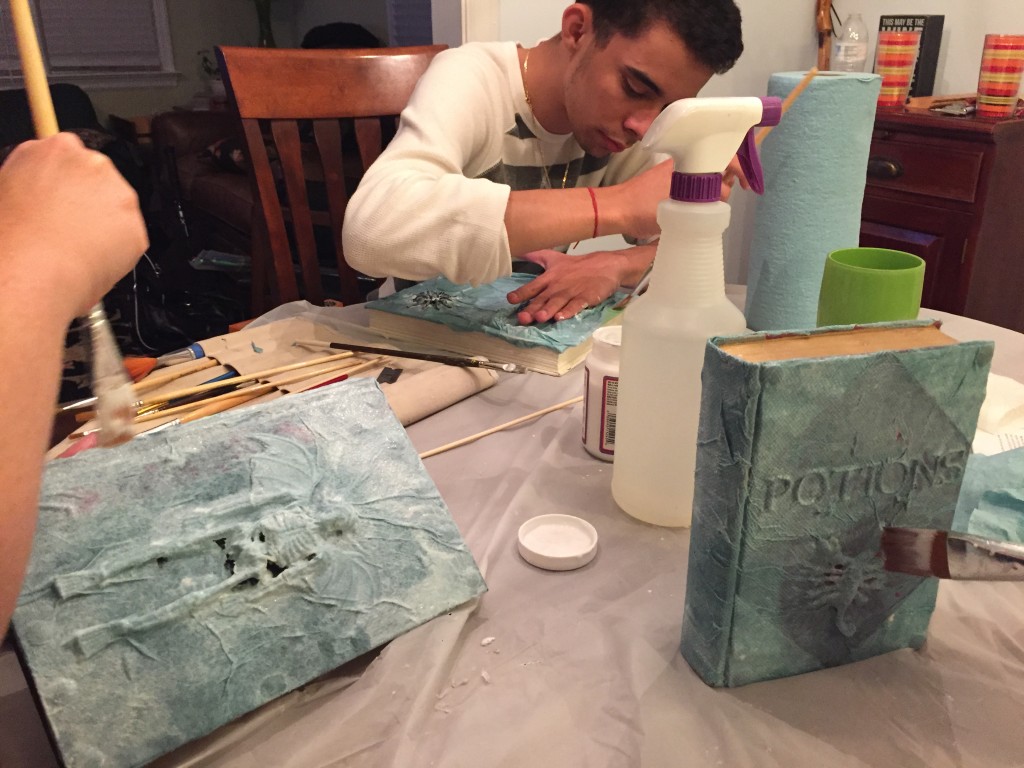
So, to do this, first you’ll loosely cover the front of your book with the separated 1-ply of the paper towel. Spray it lightly with water and, with a large-ish paintbrush, cover the front all over with Mod Podge. Fold the edges of the towel carefully around the edges of the book and secure with the Mod Podge, too. Take a smaller brush and push the paper towel as best as you can into all the creases and crevices of the decorations so they’ll show up as much as possible. You may need to cut or tear parts to eliminate air bubbles so the towel will lie down nicely (good towel!). Repeat the process on the back of your book. Wrinkles are ok; they give the books an aged look, which is fine when you’re talking about crafts and not fine when you’re talking about how I’m closing in on 40.
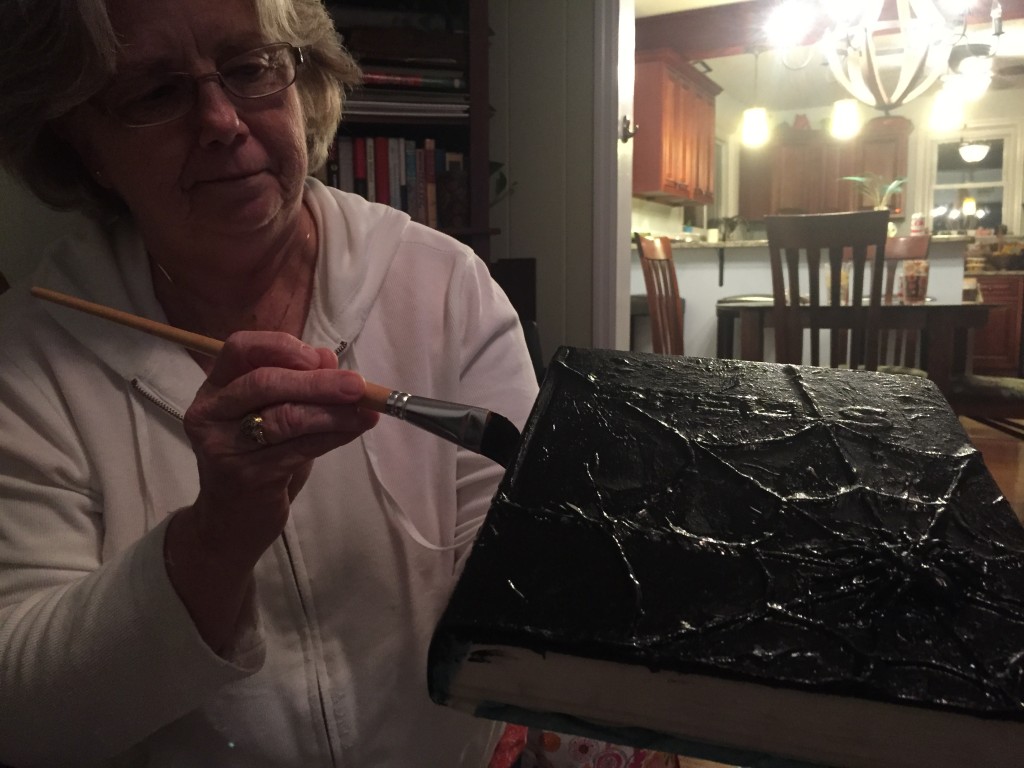
At this point, you might start freaking out because your book will look terrible and you’ll be convinced that it won’t turn out well. It’s ok—if you go to bed, when you wake up in the morning, the books will be dry and the towels will look as if they’ve been sucked into your decorations and you’ll be amazed at your abilities. - The final step is to paint the books. Here’s where it REALLY helps if you have the assistance of someone who’s artistic or crafty. If I had been left to my own devices, I’m pretty sure the books would have been solid gold because I have no understanding of how to use things in moderation and how to highlight.
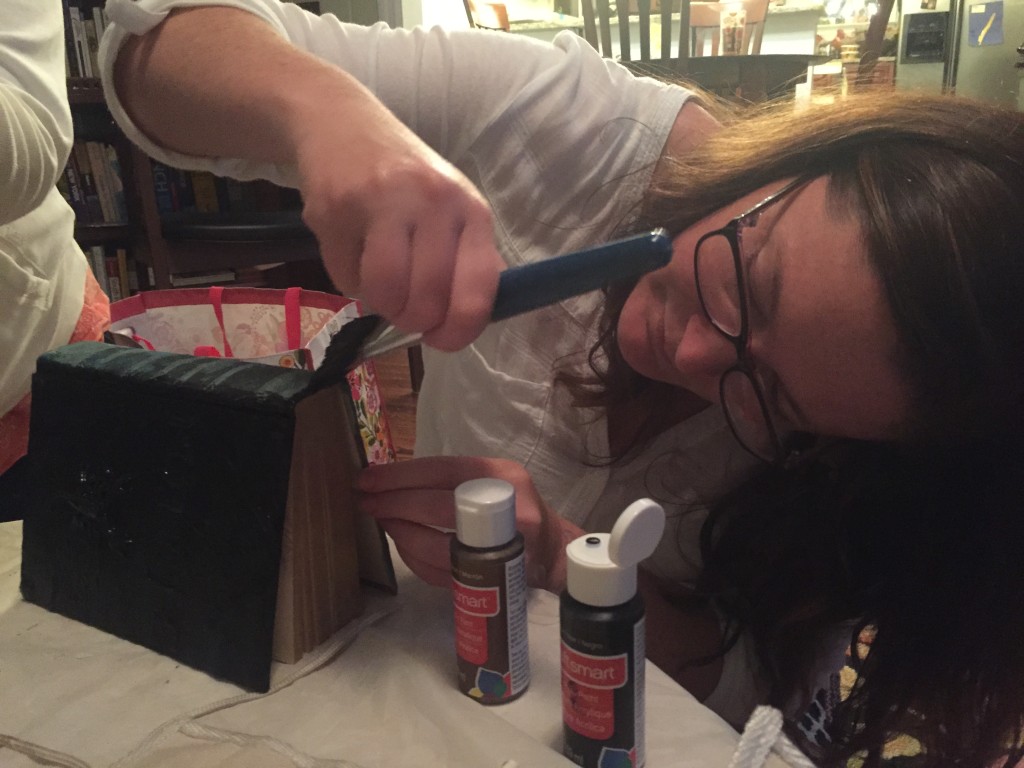
So, next, paint your dried books black. You can use a big brush for this. Make sure to get the edges so you don’t see the paper towel anywhere. Then, grab a blending brush if you have this or some other stiff-like brush, put some paint on a brush, rub most of the paint out on a paper plate, and lightly (LIGHTLY) dab some on the high spots of your decorations. Blend it out so that your decorations are highlighted but the overall look of the book is black with a glaze of bronze. I really don’t know how to explain this well. You should probably just ask Paul to help. - And you’re done! You’ll get serious bragging rights off of these. They’re really pretty easy to make, but the end result is awesome. Mwah ha ha ha ha!
-
Supplies Needed:
- Mod Podge
- Spray bottle with water
- Paint brushes (craft or otherwise)
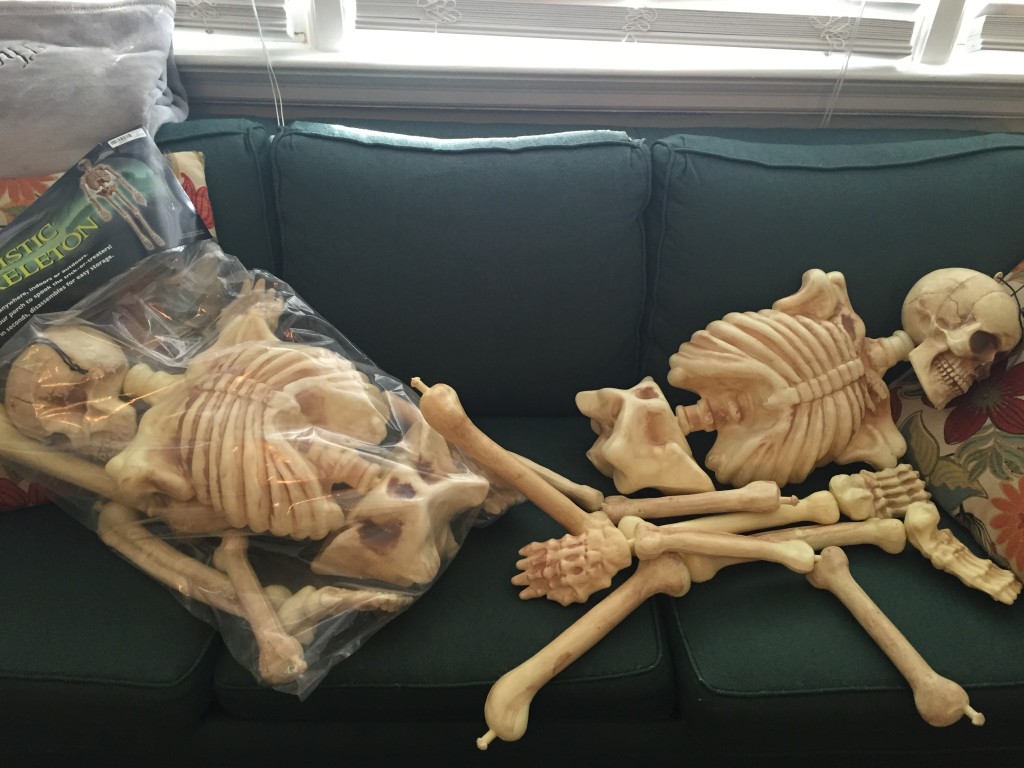
- 2 skeletons, torso up only
- 5 yards muslin or some type of gauzy fabric
- Fishing line
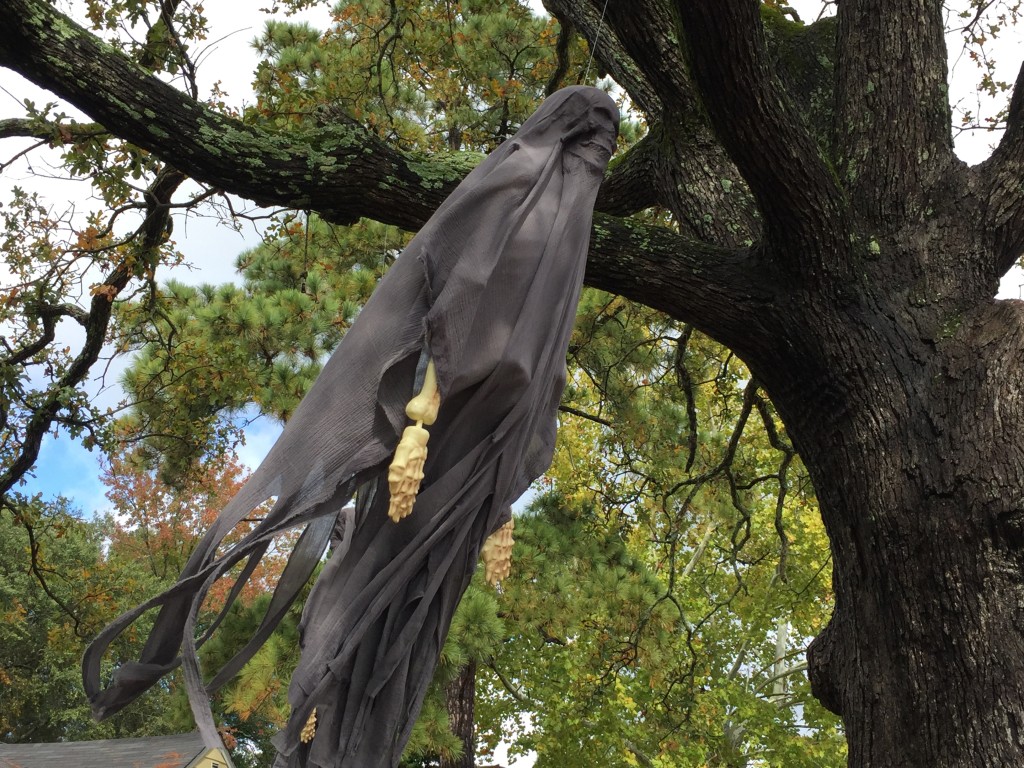
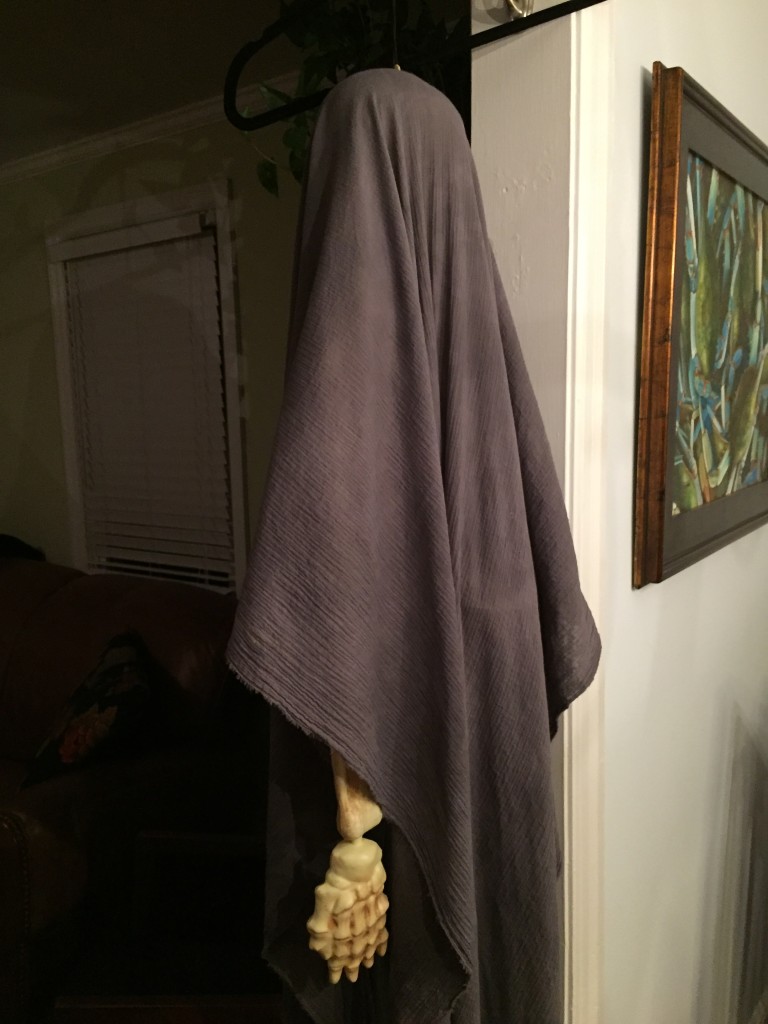
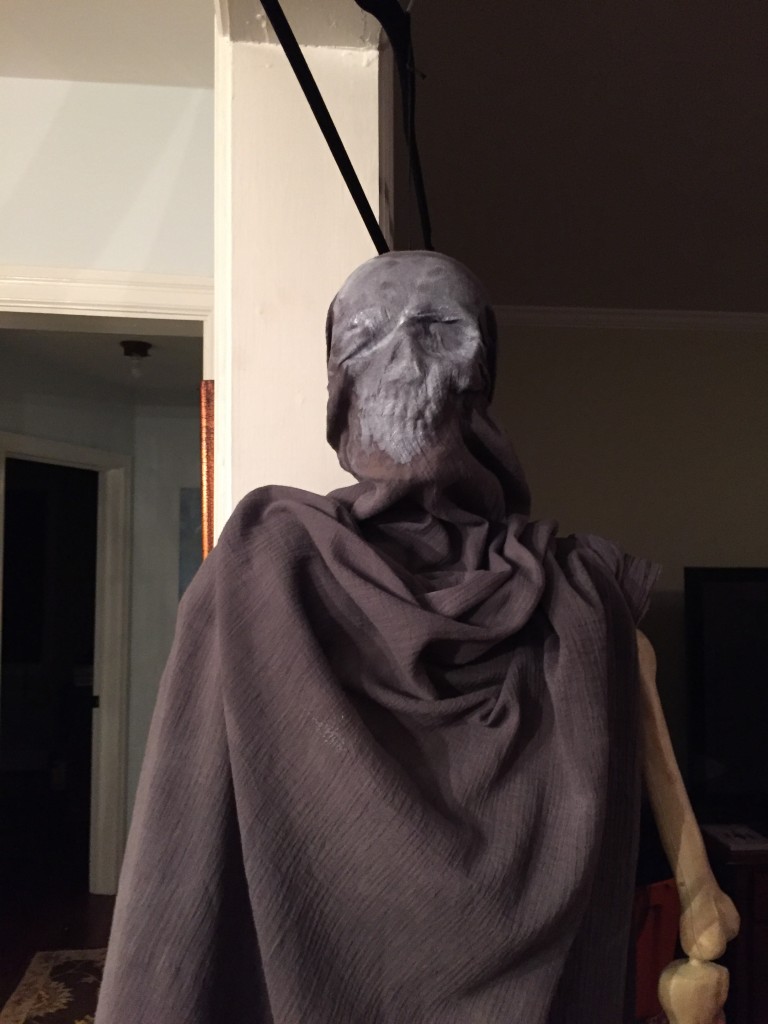
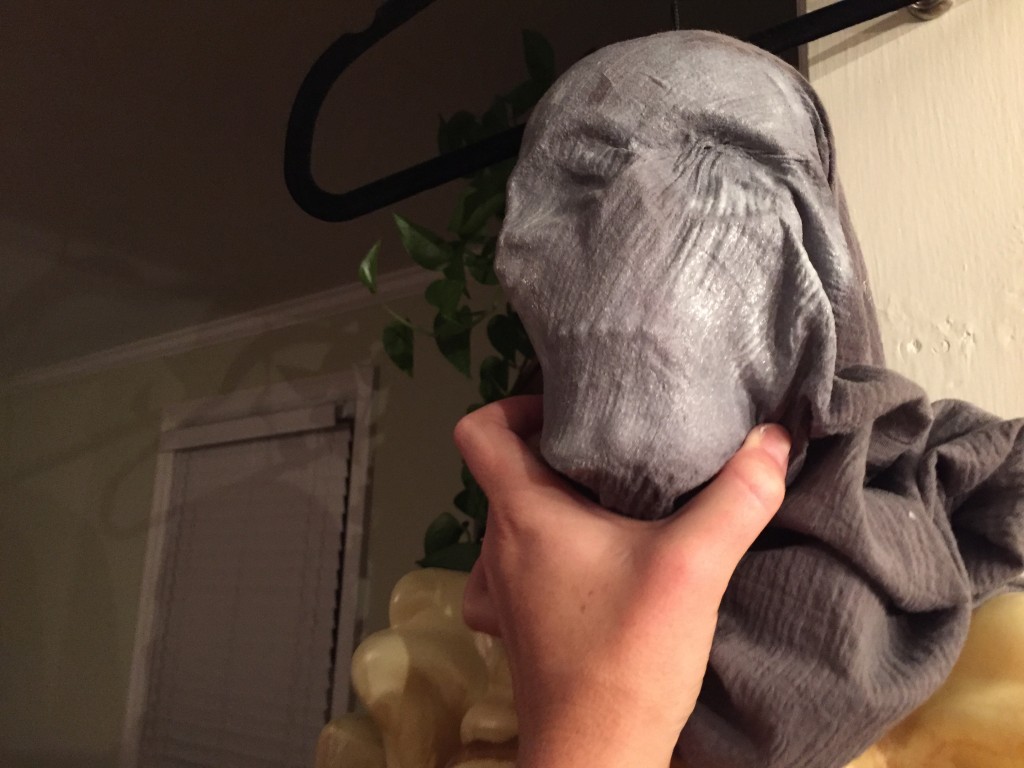
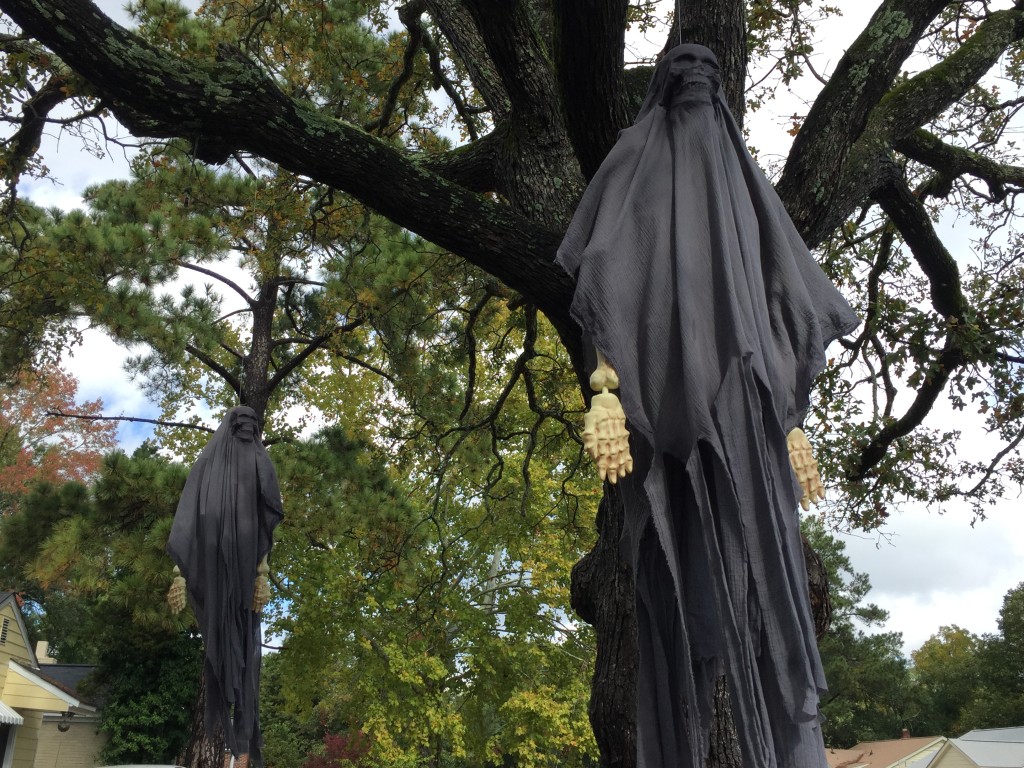
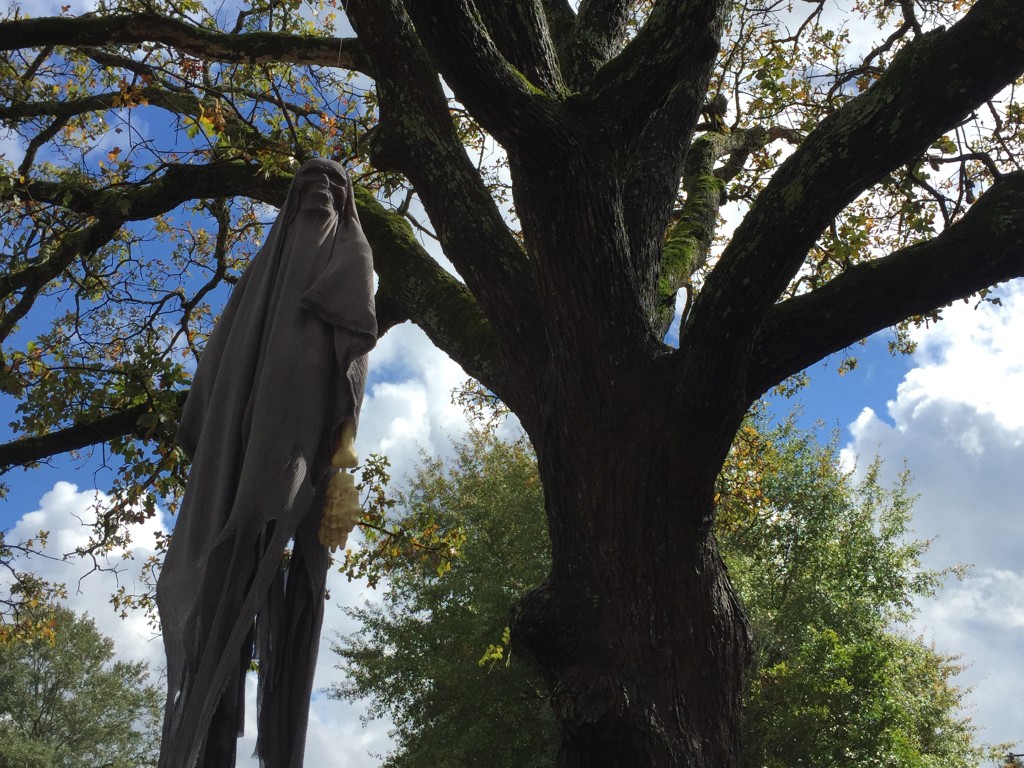
The basic premise is this: Dementors are skeletal-like figures covered in black, flowy cloth. You can only see the outline of their skeletal faces, and their hands stick out to point at you, BECAUSE THEY ARE COMING AFTER US ALL.
There weren’t really any good tutorials online, so I made up my own project. Skeletons can be expensive—I opted for the $20 ones at one of those pop-up Halloween stores. But I’m sure if you’re up for it you can craft something cheaper out of styrofoam heads, some masking tape, and some wire. But I wasn’t about all that.
I didn’t need the leg and feet portions of the skeletons, but these were perfect additions to my front yard cemetery.
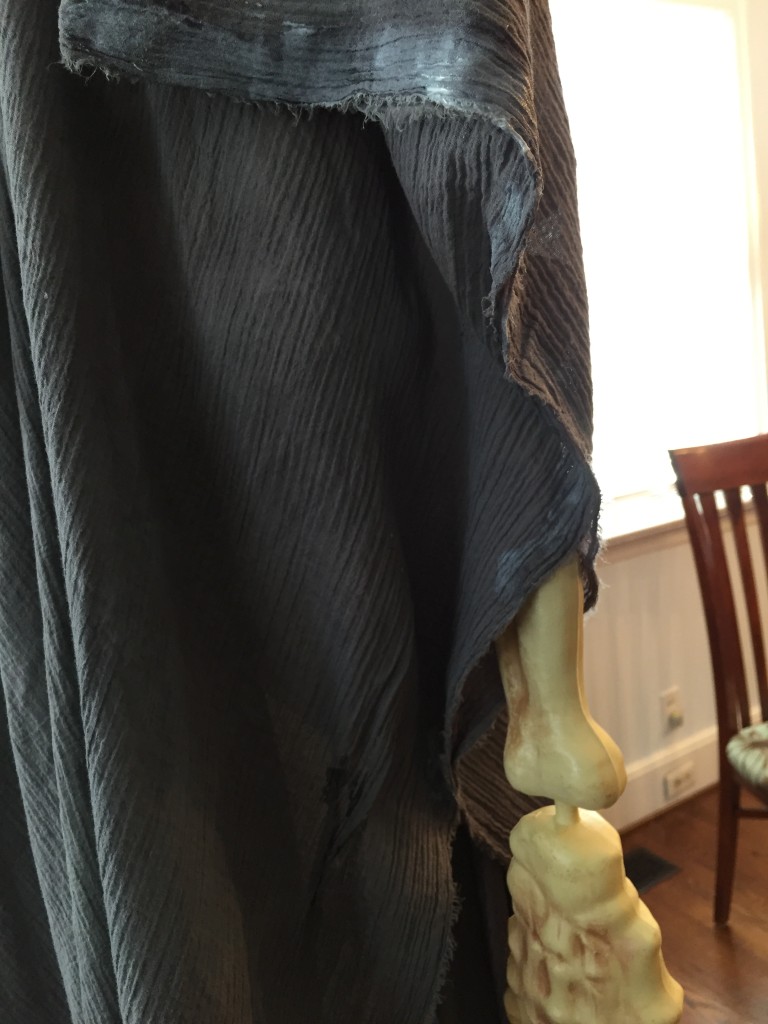
Black gauzy fabric was surprisingly hard to find, so I had to purchase some Ivory fabric and dye it with RIT. It came out more grey than black, but I was happy with the color overall.
Here’s the step-by-step:
- Cut fabric in half so you have a little over 2 yards per skeleton.
- Fold the halves in half length-wise and cut a little hole in the middle of the crease to stick over the eyehole hanging thingy coming out of the skeleton’s head (so you can hang it up).
- Hang the skeletons up somewhere so you can work on them.
- Mod Podge the crap out of their faces. You may need to spray them down with water. I found that spraying and Mod-Podging on top of the fabric worked best.
- Glue or somehow pin loosely the sides of the fabric together around the arms so that the hands stick out and the “dress” doesn’t blow off the bodies.
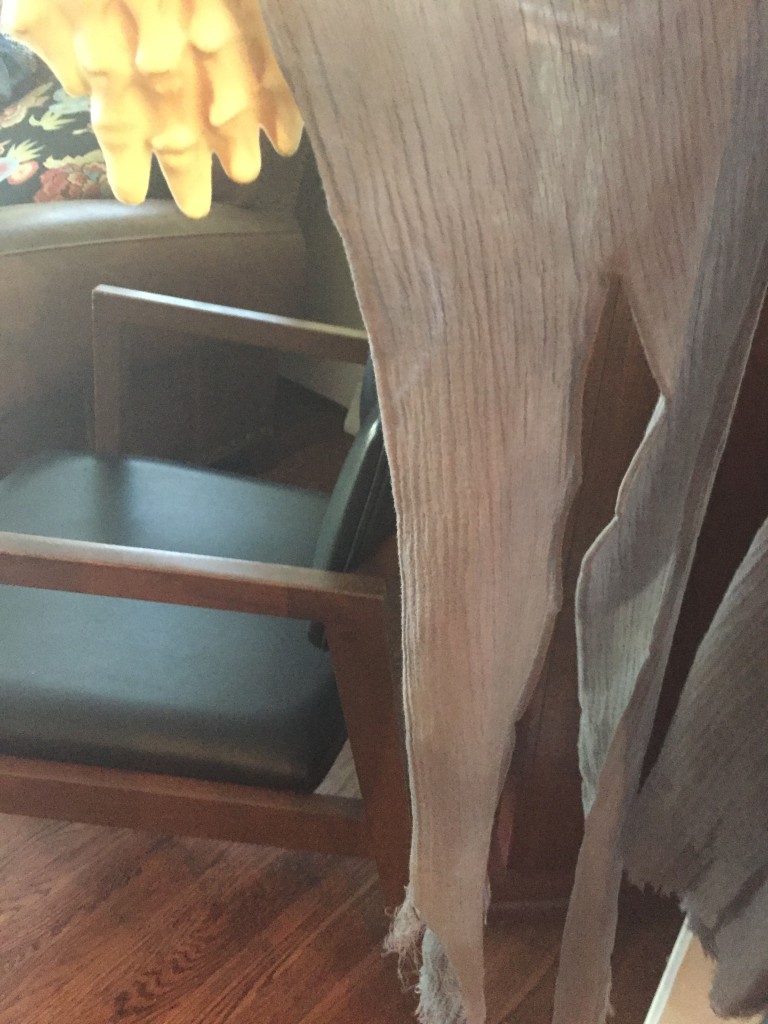
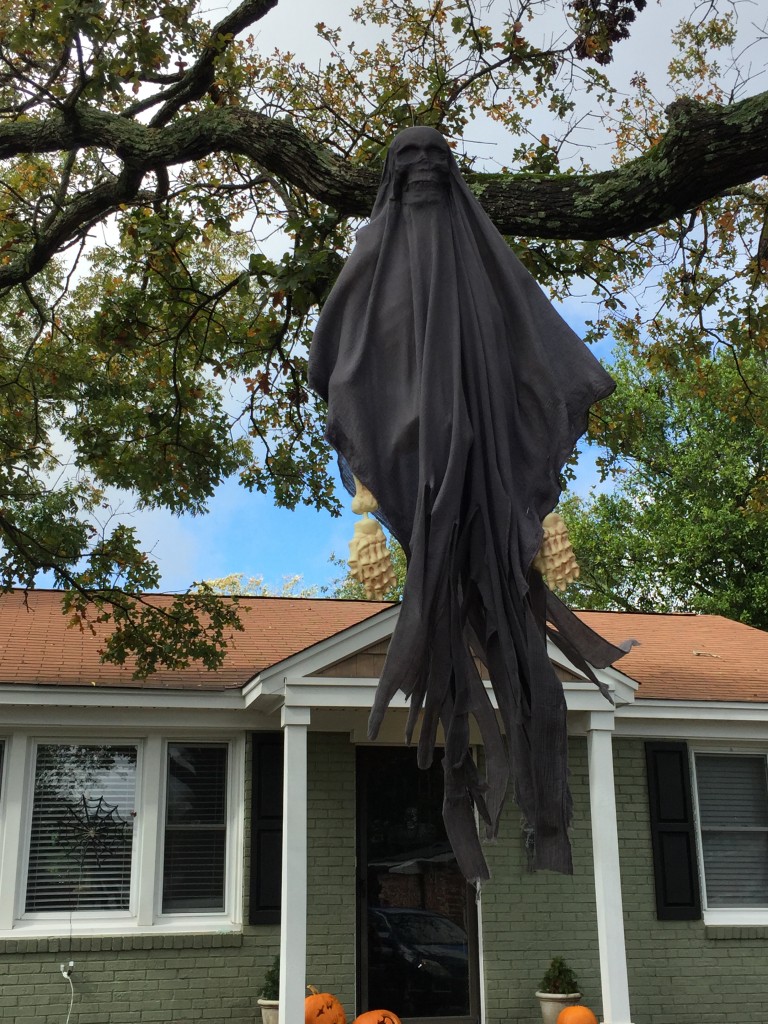
- Once everything is dry, cut and tear the ends of the fabric to give it the demons that spooky, flowy effect.
- Use the fishing line to hang the Dementors up where you please.
- Summon your Patronus—these things are creepy!
At-Home Hobbies
Because I have nothing else to do. Nothing.

